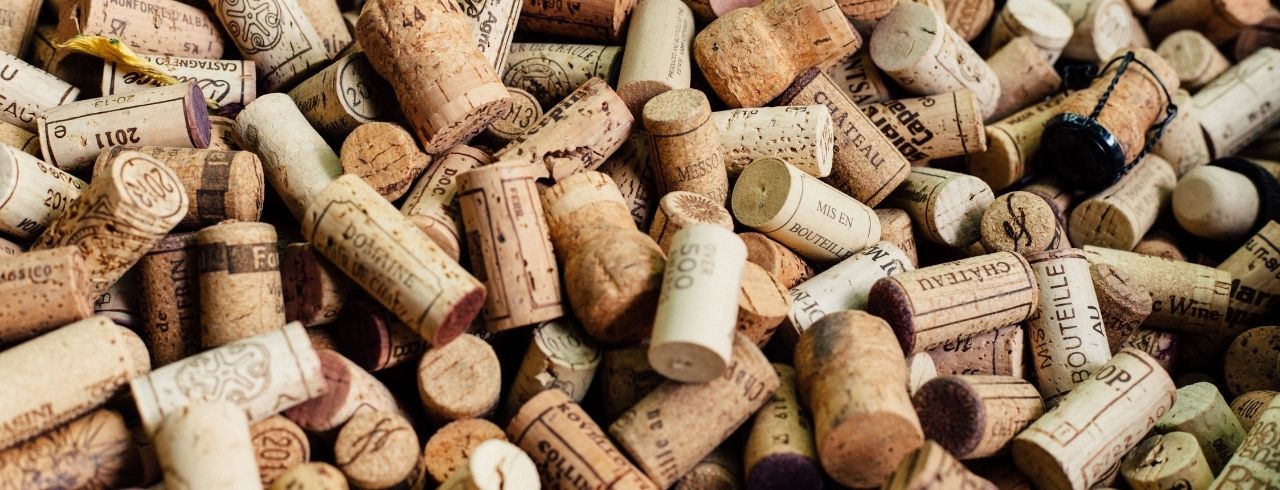
What To Do With Your Old Wine Corks
Nothing sounds like music to our ears more than popping off the cork and enjoying a flavorful glass of wine. But if you are a wine collector, like us, there is one problem with this: you have an overabundance of corks left from opened bottles.
Though wine corks have their beauty, they are not something you want to leave lying around your house. Rather than throwing them away, it would be better to put the corks to good use!
If you have been meaning to do something with your leftover corks, try using them for some “wine cork crafts!” This allows you to take your lovely wine corks and make a wonderful piece of art from them.
What Are Wine Bottle Corks?
This may seem like an obvious answer: a cork is a stopper that is used to seal a wine bottle. A wine cork, while seemingly unimportant, has an important role. For more than 600 years, they have been used to preserve the properties of wine.
While certain wines benefit from a limited amount of air exposure, too much oxygen can cause their taste and scent to be altered. Not to mention, without a stopper, the wine will be vulnerable to bacteria and mold.
The cork solves both of these issues. By allowing a small amount of air to enter, the wine’s tannins can be smoothed out. Plus, the cork is big enough to prevent harmful outside organisms from invading the bottle.
Types Of Wine Corks
Wine corks come in many forms. The most iconic one is the natural cork. This is made from the bark of Quercus suber, or cork oak. Due to its ability to protect wines for a long period, the natural cork has become synonymous with the image and preservation of wine.
But a small portion of natural cork wine suffers from Trichloroanisole (TCA)––in other words, “cork taint.” Due to this drawback, alternative stoppers were created for those who are not fond of natural corks. This includes the screw cap, synthetic cork, and zork.
Things To Consider
The type of DIY project you do will be based on three factors:
- How Many - First, count how many old corks you have, then consider what to make. This will affect how many wine corks you’ll be using. For example, a corkboard will most likely need more materials than a keychain.
- Clean Your Corks - You can use stained wine corks if that pleases you. However, a cork that has been exposed to TCA wine will emit a damp, moldy stench. Thankfully, the masters of home decor improvement at Hunker have created a guide on how to properly clean your wine corks.
- Cut The Corks - Some projects will require shorter corks. If your wine corks are too long, do not panic! Though they are normally too hard to cut through, boiling or steaming the corks will soften them. Then, you can use a serrated or utility knife to cut straight through them.
Wine Cork Projects
If you ever find yourself on a lazy afternoon or you have nothing to do, then corks and creativity are the perfect items for your next crafting projects. As ludicrous as this may sound at first, we urge you to try them out.
Not only do DIY wine cork projects allow you to create something unique, but you will also have a great conversation piece for your home. So if you’re ready to get your creative juices flowing, here are some super easy DIY ideas.
Wine Cork Bath Mat
If you are good with a hot glue gun and have a shelf liner, then this is the project for you. Crafty Nest has created a guide for a beautiful wine cork mat that you can leave in your bathroom:
Admittedly, this requires a lot of corks––175 to be exact. Do you have to drink 175 bottles of wine? Absolutely not. By taking your old corks and buying recycled ones on Amazon, you can easily have enough to make the bath mat.
When creating the mat, make sure to be patient and careful. This project will require time and prudence. It will pay off by closely following each step in Crafty Nest’s article. Soon your bathroom will have a stand-out decor––which you can relish to your friends about how you created it.
How To Make A Wine Cork Bath Mat:
- Cut each cork in half lengthwise with a sharp pocket knife. Use corks that have a similar length and width. If your cuts are jagged, then sand the bottom’s flats.
- Arrange the corks into a rectangle with their flat sides down. Feel free to use a ruler or the lines on a cutting mat to make them as rectangular as possible.
- Measure and cut the shelf liner to size with a rotary cutter, ruler, and cutting mat.
- Apply a rectangle-shaped lien of glue to the flat side of the cork, about ⅛ inch from the edge, line up the cork with the edge of the mat, and press hard. Wipe away any leftover glue before it hardens. Make sure to wait until the glue cools down, so you don't burn yourself.
- Once the frame is in place, transfer the other corks to their corresponding position on the mat. Then remove one cork at a time and glue it down.
Wine Cork Keychains
Keychains have a mysterious allure that we cannot explain. Their adorable and notable design makes them the ideal companion for our house and car keys. While you can purchase a keychain at almost any convenience store; it would be more meaningful to have one that you created.
What’s even better is a keychain that has the cork of your favorite wine attached to it. In Michelle James’s Wine Cork Keychain Tutorial, she gives you a step-by-step process on how to create a pristine wine cork keychain. Besides the corks, you need eyelets, headpins, charms, washers, beads, glue, wire cutters, and a ring key holder.
How To Make A Wine Cork Keychain:
- Use the E600 High Viscosity Adhesive to glue the smaller washer on top of the larger washer. Make a set for each end of the wine cork.
- Glue the washer onto each end of the cork.
- Add the eyelet into the center of the washer. Also, add a little glue to the eyelet, so it won't be loose.
- Use the pliers from the toolset to add a bead and charm to the bottom eyelet.
- Finally, add a key ring to the top eyelet.
Wine Cork Wreath
Have you ever wanted a beautiful Christmas decoration that is different from what your neighbors have? Instead of buying expensive wall art to show off during Christmas parties, a wreath––made from wine corks––will be more captivating.
Evelyn, from My Turn for Us, has written the ultimate guide to create a DIY Christmas Wine Cork Wreath. In order to produce this charming work of art, you need the corks, a styrofoam wreath, floral greenery, artificial cranberries, and a hot glue gun.
Similar to the previous projects, make sure to handle each item with care and patience. Do not let your hard work and money go to waste!
How To Make A Wine Cork Wreath:
- Apply hot glue to the back of each plainer cork or those you decided to be on the first layer. Place it to cover as much of the foam wreath as possible in a haphazard fashion.
- After the wreath is covered with corks, start the second layer. Glue the prettier corks or your favorite winery’s corks –– once again, in a haphazard fashion –– covering the first layer of corks.
- If you are not lucky enough to find the perfect arrangement of greenery, the sprigs can be cut apart then glued together in an arrangement of your choosing. We added some of the same cranberries in our floral arrangement as we would be placing around the wreath.
- Hot glue the completed greenery arrangement to the top of the wreath or, if you wish, to the bottom or sides.
- Cut the cranberry sprays into small bunches or glue bunches together. Place them around the wreath and hot glue them.
- Hot glue a hanger on the back to hang it on your door. This Christmas wine cork wreath would also look beautiful in a foyer or on an inside wall.
It’s Time To Get Those Creative Juices Flowing
Wine corks do not have to be put to waste. They can be used to create something delightful for you. By doing one of these projects––or another one that catches your attention––you can turn your old corks into something practical and aesthetically pleasing.
